Schedule builds
In a dev star system, you can schedule TeamCity builds to run automatically at a specific time. For example, you can schedule nightly builds or regularly run test suites during off-hours. You can create up to 20 schedules in all your dev star systems.
Access to this application can be managed by:
-
Guidewire Hub
For details, see Access Cloud Platform apps and services.
-
Access Management
For details, see Guidewire Cloud Platform (GWCP) roles and permissions.
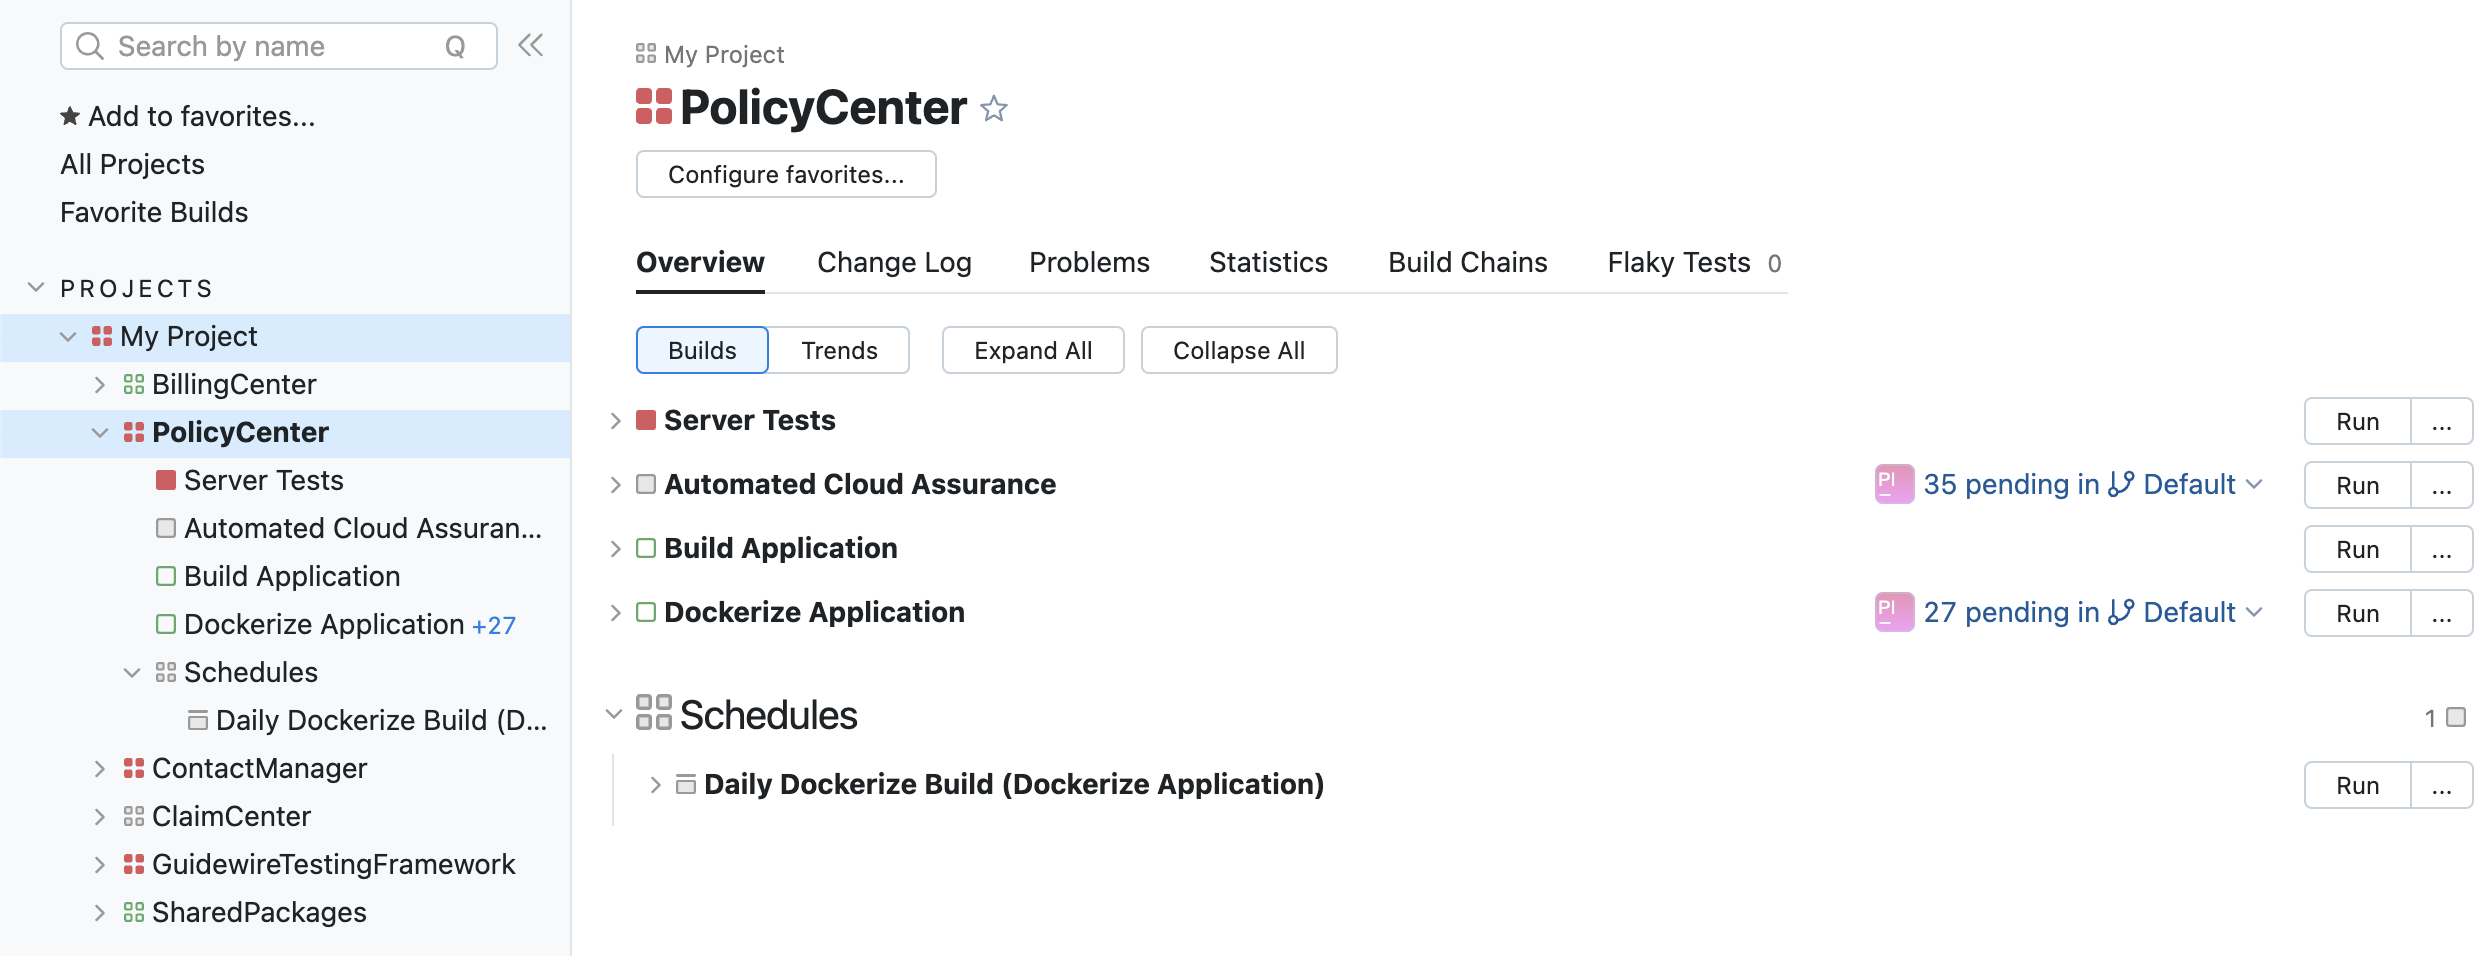
About schedules
A schedule includes the following settings:
-
Builds.
Select one or multiple builds to run. You can also customize build configuration.
-
Date, time, and time zone.
Use cron syntax to configure when and how many times to run a schedule.
-
Branches.
Configure your schedule to run only on selected branches.
In addition, you can decide to run a schedule only if there are pending changes in your code. At any time, you can also deactivate your schedule and then activate it when ready.
Manage schedules
To manage schedules:
-
Select a star system.
-
From Apps
 , select Automated Builds or select it from your pinned apps.

Create a schedule
Creating a schedule consists of three steps:
-
Define schedule details.
Name your schedule and specify branches on which the scheduled builds will run.
-
Select and configure builds.
Select builds included in the schedule and, optionally, customize build parameters.
-
Define date and time.
Use cron syntax to define when to run scheduled builds.
For details on creating schedules, see:
- Schedule builds for InsuranceSuite applications
- Schedule builds for EnterpriseEngage applications
- Schedule GT Framework tests
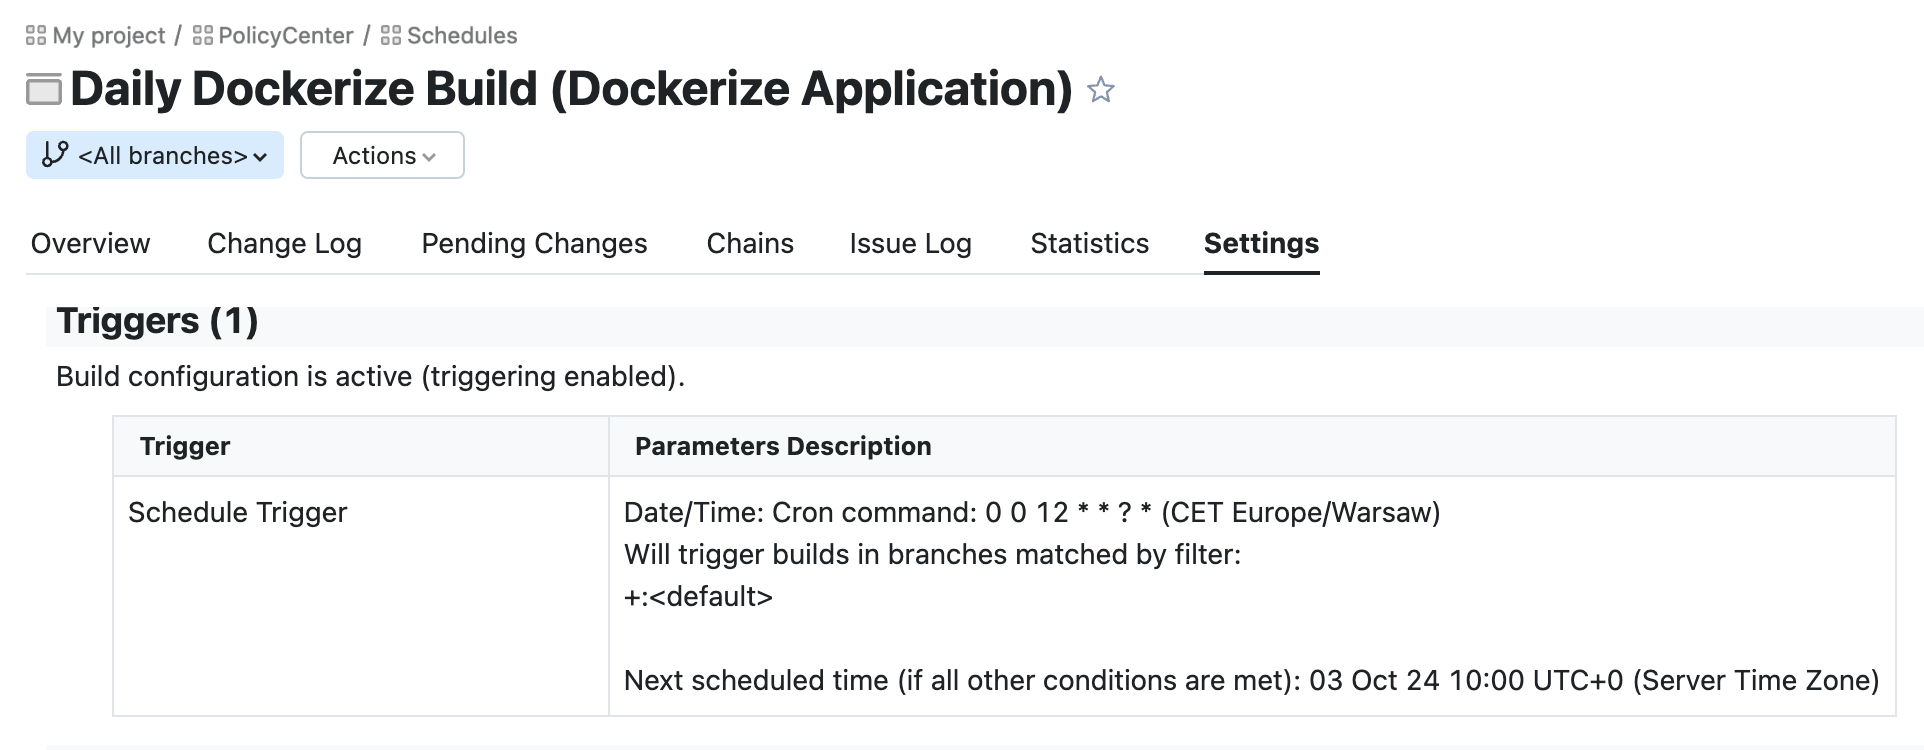
Verify changes in TeamCity
Each schedule appears in a TeamCity project for your application as a separate composite build with the schedule name. Builds included in the schedule are listed in brackets.
To verify a schedule configuration in TeamCity:
- Select an application for which you created a schedule.
- In Schedules, find and select a composite build with your schedule name.
- Go to the Settings tab.
- In the table, check the new Schedule Trigger:
Edit a schedule
You can modify all the settings except for an application to which a schedule applies.
To modify the schedule settings, select Edit ![]() .
.
For the InsuranceSuite apps, the division of test suites to pre-merge and post-merge has been deprecated. For details see (Deprecated) Customize build parameters.
To verify changes in TeamCity, check Parameters Description for the modified Schedule Trigger.
Activate or deactivate a schedule
To activate or deactivate a schedule, you can either edit it or use a toggle in the Active column.
You can verify changes in TeamCity:
- For an activated schedule, in the table, by checking if there is a new Schedule Trigger.
- For a deactivated schedule, in the Triggers section, by checking if there aren't any configured schedule triggers.
Delete a schedule
You can delete schedules that you no longer need. To delete a schedule, select Delete ![]() .
.
You can also temporarily deactivate a schedule instead of deleting it.